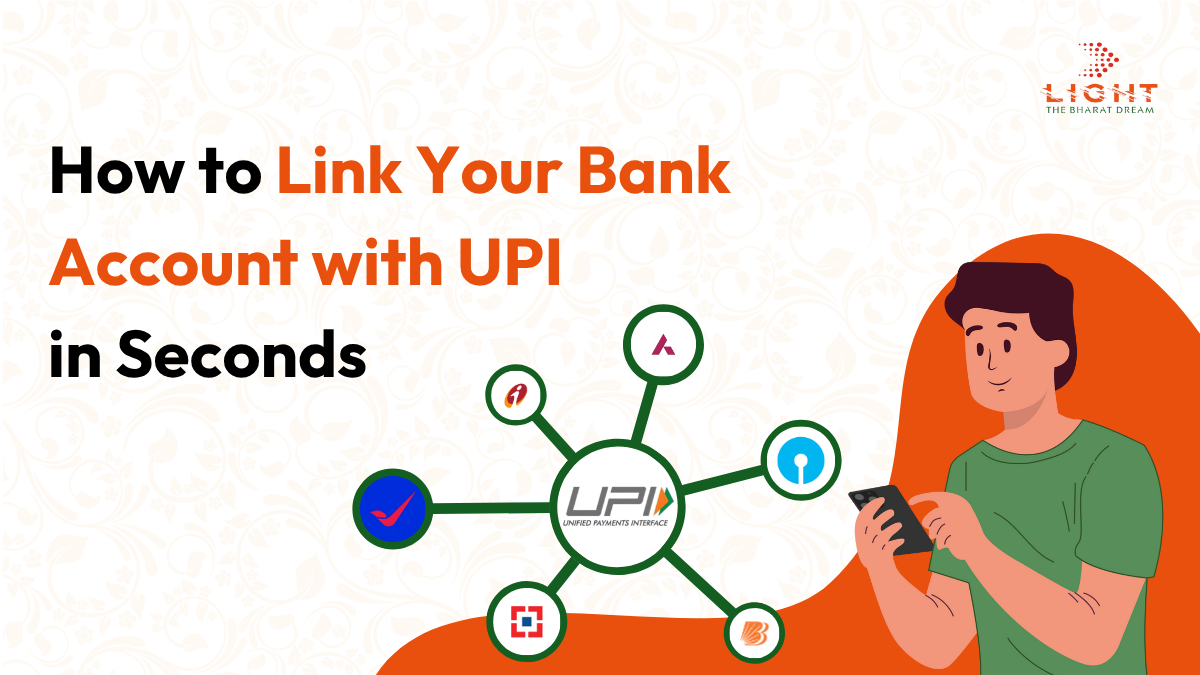
How to link UPI with your Bank Accounts in seconds
Setting up UPI for your bank account is one of the quickest and most essential steps to enable seamless digital payments. Whether you’re using UPI for daily transactions, bill payments, or merchant QR scanning, the setup process is simple and takes less than a minute if your mobile number is already linked to your bank account. This guide walks you through the process to get started immediately.
Benefits of Linking a Bank Account to UPI
- Instant fund transfers using mobile number, UPI ID, or QR code
- No need to remember account numbers or IFSC codes
- Secure PIN-based transaction authentication
- Access to multiple bank accounts through one app
- 24/7 availability including weekends and holidays
How to Link Your Bank Account to UPI in Seconds
Step 1: Download a UPI-Enabled App
Install any trusted UPI app from the Google Play Store or Apple App Store. Popular options include BHIM, Google Pay, PhonePe, Paytm, and your bank’s official app. All of these apps provide the same core UPI functionality.
Step 2: Register with Your Mobile Number
Open the app and register using the mobile number linked to your bank account. The app will verify your number by sending an OTP or silent SMS. Ensure the SIM is active on your device and has the ability to send and receive messages.
Step 3: Select Your Bank
After successful verification, choose your bank from the list provided. The app will automatically fetch your account details using your mobile number. If you have multiple accounts with the same bank, you’ll be asked to select one.
Step 4: Set Your UPI PIN
To authorize transactions, you need to set a UPI PIN. If you haven’t done this before:
- Enter the last six digits of your debit card and its expiry date
- Receive and enter the OTP sent by your bank
- Set a 4- or 6-digit UPI PIN
This PIN is required for every transaction and should be kept confidential.
Step 5: Confirm or Create Your UPI ID
Once your account is linked, the app will generate a default UPI ID (also known as a Virtual Payment Address or VPA). It typically looks like yourname@upi or mobilenumber@bankname. Some apps allow you to customize this ID. This UPI ID is what others can use to send you money.
Step 6: Start Using UPI
Your bank account is now successfully linked. You can begin using UPI for various purposes:
- Sending and receiving money instantly
- Paying at stores using QR codes
- Checking your bank balance
- Managing multiple bank accounts within the app
Optional: Linking Aadhaar for Government Benefit Transfers
If you want to receive government subsidies or DBT (Direct Benefit Transfers), you may need to link your Aadhaar with your bank account. This process can typically be completed online or at your bank branch and ensures that subsidies are credited directly to your UPI-linked account.
Safety Tips for UPI Users
- Never share your UPI PIN with anyone
- Use only verified and trusted UPI apps
- Avoid clicking on suspicious payment links
- Enable biometric or app lock for added security
- Monitor your transaction history regularly
Final Thoughts
Linking your bank account to UPI is one of the fastest ways to enable digital payments in India. With just a few steps and your mobile-linked debit card, you can be ready to send and receive money instantly. Once set up, you’ll have access to a secure, convenient, and widely accepted payment system that works across apps, merchants, and platforms.